
Hey there! As a supplier of Knife Gate Valves, I've seen my fair share of valve issues, and one of the most common problems is leakage. A leaking Knife Gate Valve can be a real headache, leading to wasted resources, potential safety hazards, and increased maintenance costs. But don't worry, I'm here to walk you through the steps to troubleshoot a leaking Knife Gate Valve.
Step 1: Identify the Leak Location
The first thing you need to do is figure out where the leak is coming from. There are a few common places where Knife Gate Valves can leak:
- Valve Body: Check the valve body for any visible cracks or damage. Sometimes, the valve body can get cracked due to excessive pressure or improper installation.
- Sealing Surfaces: The sealing surfaces between the gate and the seats are another common source of leaks. Over time, these surfaces can wear out, causing a poor seal.
- Stem Packing: The stem packing is responsible for preventing leakage around the valve stem. If the packing is worn or damaged, it can allow fluid to escape.
- Flange Connections: Check the flange connections for any loose bolts or gaskets. A loose flange connection can cause a leak at the joint.
Step 2: Inspect the Valve Components
Once you've identified the leak location, it's time to inspect the valve components. Here's what you should look for:
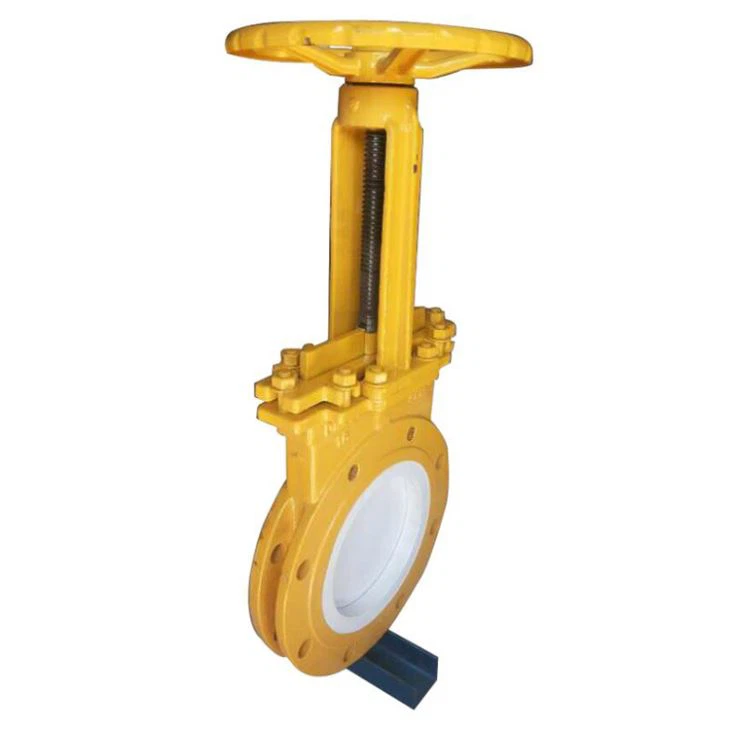
- Gate and Seats: Remove the valve cover and inspect the gate and seats for any signs of wear, damage, or corrosion. If the sealing surfaces are damaged, you may need to replace the gate or the seats. You can check out our Ceramic knife gate valve which has excellent wear - resistant properties for harsh applications.
- Stem Packing: Examine the stem packing for signs of wear, compression, or damage. If the packing is in bad shape, you'll need to replace it. Make sure to use the correct type of packing material for your application.
- Gaskets: Check the gaskets at the flange connections and other joints. Look for any signs of damage, such as tears or cuts. Replace any damaged gaskets with new ones.
- Bolts and Nuts: Tighten any loose bolts and nuts at the flange connections. Make sure to use a torque wrench to ensure that the bolts are tightened to the correct specification.
Step 3: Check the Operating Conditions
Sometimes, the leakage problem can be caused by improper operating conditions. Here are some things to consider:
- Pressure and Temperature: Make sure that the valve is rated for the pressure and temperature of the fluid it's handling. If the pressure or temperature is too high, it can cause the valve to leak.
- Flow Rate: Excessive flow rate can also cause problems with the valve. Check if the flow rate is within the valve's recommended range.
- Fluid Compatibility: Ensure that the valve materials are compatible with the fluid being handled. Some fluids can cause corrosion or chemical reactions that can damage the valve components.
Step 4: Test the Valve
After you've inspected and made any necessary repairs or replacements, it's time to test the valve. Here's how you can do it:
- Close the Valve: Make sure the valve is fully closed.
- Apply Pressure: Slowly apply pressure to the valve and check for any signs of leakage. You can use a pressure gauge to monitor the pressure.
- Open and Close the Valve: Cycle the valve open and closed a few times to make sure it operates smoothly and there are no new leaks.
Step 5: Maintenance and Prevention
To prevent future leakage problems, it's important to perform regular maintenance on your Knife Gate Valves. Here are some tips:
- Lubrication: Keep the valve components well - lubricated to reduce friction and wear. Use a lubricant that is compatible with the valve materials and the fluid being handled.
- Inspection: Conduct regular inspections of the valves to catch any potential problems early. Look for signs of wear, corrosion, or damage.
- Training: Make sure your operators are properly trained on how to operate and maintain the Knife Gate Valves. This can help prevent improper use that can lead to leakage.
If you're dealing with a slurry application, our Slurry Knife Gate Valve is a great option. It's designed to handle abrasive and viscous slurries with ease. And for applications where you need good chemical resistance, our Urethan knife gate valve is worth considering.
In conclusion, troubleshooting a leaking Knife Gate Valve requires a systematic approach. By following these steps, you can identify the problem, make the necessary repairs, and prevent future leaks. If you're still having trouble or if you need a new Knife Gate Valve, don't hesitate to reach out to us. We're here to help you find the right solution for your needs. Whether you're looking for a standard valve or a custom - designed one, we've got you covered. Contact us today to start a conversation about your valve requirements.
References
- Valve Handbook, Various Editions
- Manufacturer's Technical Documentation for Knife Gate Valves