
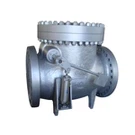
Hey there! As an automatic control valve supplier, I've seen firsthand how crucial it is to install these valves correctly. A proper installation not only ensures the valve functions as intended but also extends its lifespan and saves you from a whole bunch of headaches down the road. So, let's dive into how you can install an automatic control valve correctly.
Pre - installation Checks
Before you even think about installing the valve, you've got to do some pre - installation checks. First off, examine the valve carefully for any visible damage. Look for dents, scratches, or broken parts. If you spot anything, contact us right away. Since we're the suppliers, we'll sort it out for you and get you a new, undamaged valve.
Next, make sure you've got all the necessary tools on hand. You'll typically need wrenches, a pipe cutter, thread sealant, and possibly a pressure gauge. Having these tools ready will make the installation process go much smoother.
Also, measure the pipe where you're going to install the valve. The valve needs to fit the pipe diameter precisely. If the fit is off, the valve won't work properly. And don't forget to check the flow direction. Most automatic control valves have an arrow indicating the correct flow direction. Installing the valve backwards can lead to all sorts of problems, like reduced efficiency or even valve failure.
Site Preparation
The installation site matters a lot. You need a clean and dry area. If there's dirt or debris in the pipes, it can clog the valve and mess up its operation. So, clean the pipes thoroughly before installing the valve.
Make sure the area around the installation site has enough space. You'll need room to maneuver the valve and the tools. If it's too cramped, you might not be able to install the valve correctly, and it'll be a real pain to access it for maintenance later on.
Installation Steps
Step 1: Cut the Pipe
Use a pipe cutter to cut the pipe at the appropriate location. Make sure the cut is straight. A jagged cut can prevent a proper seal between the valve and the pipe. After cutting, use a file to smooth the edges of the pipe. This helps to ensure a tight fit with the valve.
Step 2: Apply Thread Sealant (if applicable)
If your valve uses threaded connections, apply a suitable thread sealant to the male threads. Don't overdo it, though. Too much sealant can get into the valve and cause blockages. Just a thin, even layer will do the trick.
Step 3: Install the Valve
Carefully align the valve with the cut pipe. If it's a threaded valve, hand - tighten the connections first. Then, use a wrench to give it a final tighten. Be careful not to overtighten, as this can damage the valve or the pipe threads.
For flanged valves, align the flanges and insert the bolts. Tighten the bolts evenly in a criss - cross pattern. This ensures that the pressure is distributed evenly across the flange, preventing leaks.
Step 4: Connect the Control Lines (if any)
Some automatic control valves come with control lines for things like pressure sensing or actuation. Connect these lines according to the manufacturer's instructions. Make sure the connections are secure and there are no kinks in the lines.
Step 5: Check for Leaks
Once the valve is installed, turn on the fluid flow (slowly!) and check for leaks around the connections. If you find any leaks, tighten the connections a bit more. If the leak persists, you might need to re - apply the thread sealant or check the flange gasket.
Adjustment and Calibration
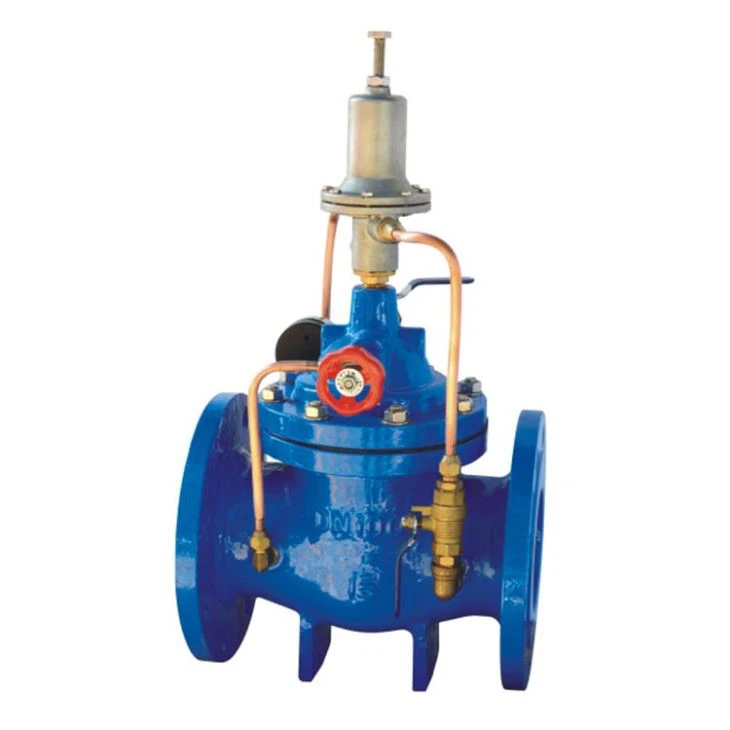
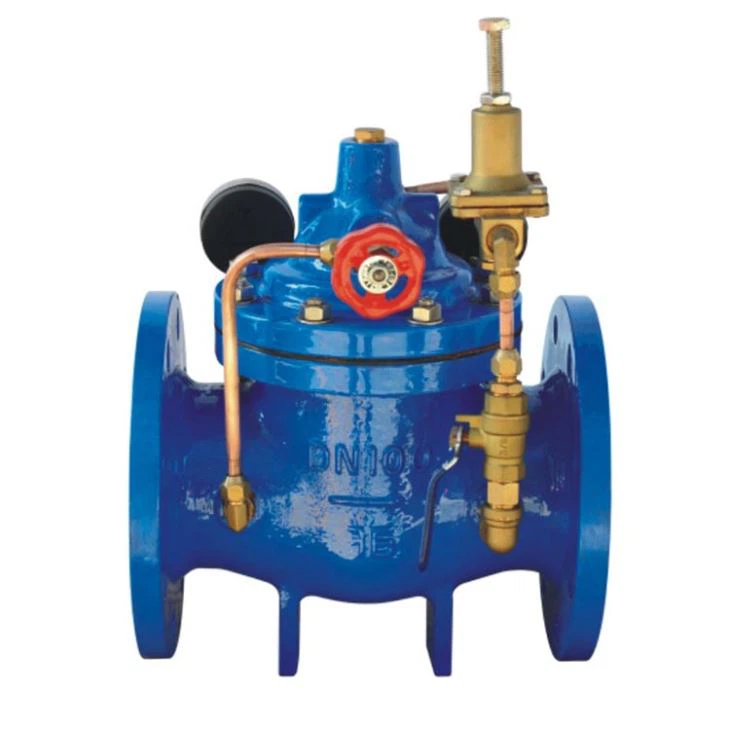
After the valve is installed and there are no leaks, it's time to adjust and calibrate it. Different valves have different adjustment procedures. For example, a 200X Pressure Reducing Valve is used to reduce the pressure in a system. You'll need to set the desired outlet pressure according to your system requirements.
Use a pressure gauge to measure the inlet and outlet pressures. Then, follow the valve's instruction manual to make the necessary adjustments. This might involve turning an adjustment screw or using a control knob. Keep making small adjustments and checking the pressure until you reach the desired value.
A Non - Modulating Float Valve is used to control the liquid level in a tank. You'll need to adjust the float arm so that the valve opens and closes at the right liquid levels. This usually involves adjusting the height of the float or the position of the hinge.
Maintenance after Installation
Even after a successful installation, you can't just forget about the valve. Regular maintenance is key to keeping it in good working condition. Inspect the valve periodically for signs of wear and tear, such as leaks, corrosion, or worn - out seals.
Clean the valve if it gets dirty. Some valves can be cleaned with a mild detergent and water. Others might require special cleaning agents. Always follow the manufacturer's cleaning instructions.
If you notice any problems, don't hesitate to contact us. As an automatic control valve supplier, we have a team of experts who can help you troubleshoot and fix any issues.
Choosing the Right Valve
One important thing to mention is that choosing the right valve for your application is just as important as installing it correctly. Different valves are designed for different purposes. For example, a 500X Pressure Reducing Valve is suitable for applications where a high - degree of pressure reduction is required.
When selecting a valve, consider factors like the required flow rate, pressure range, temperature, and the type of fluid. If you're not sure which valve is right for you, reach out to us. We can help you make the right choice based on your specific needs.
Wrapping Up
Installing an automatic control valve correctly is a multi - step process that requires careful preparation, precise installation, and proper adjustment. By following the steps outlined above, you can ensure that your valve works efficiently and lasts a long time.
If you're in the market for automatic control valves, we're here to help. Whether you need a 200X Pressure Reducing Valve, a Non - Modulating Float Valve, or a 500X Pressure Reducing Valve, we've got you covered. Contact us to discuss your requirements and start a purchase negotiation. We'll work with you to find the best solutions for your needs.
References
- Manufacturer's installation and operation manuals for automatic control valves
- Industry standards and guidelines for valve installation