
Installing a ceramic lined ball valve in a pipeline is a crucial process that requires careful planning, proper tools, and adherence to safety protocols. As a supplier of Ceramic Lined Ball Valves, I understand the importance of providing clear guidance on this installation process. In this blog, I will walk you through the step-by-step procedure of installing a ceramic lined ball valve in a pipeline.
Pre - installation Preparation
Before you start the installation, it is essential to gather all the necessary tools and materials. You will need a wrench set, a torque wrench, a pipe cutter, a deburring tool, a cleaning cloth, and appropriate sealing materials such as gaskets. Additionally, make sure that the pipeline is clean and free from any debris, rust, or contaminants. Inspect the ceramic lined ball valve for any damage during transit. Check the valve body, the ball, the stem, and the seats for any cracks, scratches, or other defects.

It is also important to understand the specifications of the valve and the pipeline. The size of the valve should match the pipeline diameter. The pressure and temperature ratings of the valve should be compatible with the operating conditions of the pipeline. Refer to the valve's datasheet and the pipeline's design documents for accurate information.
Step 1: Shut Down the Pipeline
Safety is the top priority during valve installation. Before you begin any work, shut down the pipeline system. This includes closing all upstream and downstream valves to isolate the section where the ceramic lined ball valve will be installed. Depressurize the pipeline by slowly opening a bleed valve to release any trapped pressure. Make sure to follow all safety procedures and wear appropriate personal protective equipment (PPE) such as safety glasses, gloves, and hard hats.
Step 2: Cut the Pipeline
Measure and mark the section of the pipeline where the valve will be installed. Use a pipe cutter to make a clean and straight cut. After cutting the pipe, use a deburring tool to remove any sharp edges or burrs from the cut ends. This will ensure a proper seal and prevent damage to the valve gaskets.
Step 3: Prepare the Valve and Pipeline Ends
Clean the ends of the pipeline and the valve flanges thoroughly using a cleaning cloth. Remove any dirt, oil, or debris that could affect the sealing performance. Apply a thin layer of anti - seize compound on the bolt threads to prevent corrosion and make future maintenance easier.
Place the gaskets on the valve flanges. Make sure the gaskets are centered and properly aligned. The type of gasket used depends on the operating conditions of the pipeline, such as pressure, temperature, and the type of fluid being transported.
Step 4: Position the Valve
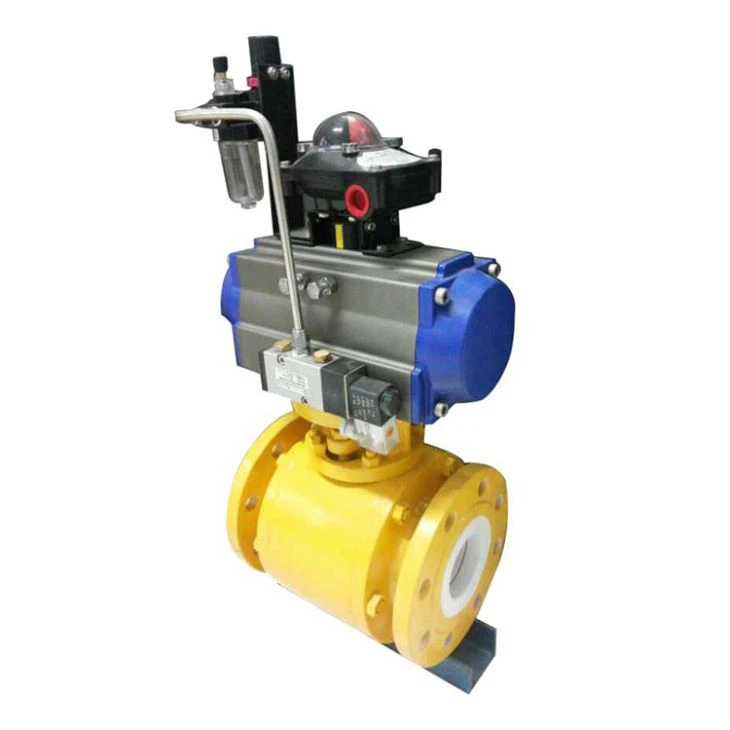
Carefully lift the ceramic lined ball valve and position it between the cut ends of the pipeline. Align the valve flanges with the pipeline flanges. Make sure the valve is in the correct orientation, with the flow arrow on the valve body indicating the direction of fluid flow in the pipeline.
Step 5: Bolt the Valve to the Pipeline
Insert the bolts through the holes in the valve flanges and the pipeline flanges. Use a wrench to hand - tighten the bolts evenly. Do not over - tighten the bolts at this stage. Then, use a torque wrench to tighten the bolts to the recommended torque value specified in the valve's installation manual. Tightening the bolts evenly is crucial to ensure a proper seal and prevent leaks.
Step 6: Check the Valve Operation
After the valve is securely bolted to the pipeline, check the valve operation. Rotate the valve handle or actuator to open and close the valve several times. Make sure the valve operates smoothly without any binding or excessive resistance. Check for any signs of leaks around the valve flanges. If there are any leaks, stop the operation and tighten the bolts further or replace the gaskets if necessary.
Step 7: Re - pressurize the Pipeline
Once you are satisfied with the valve installation and operation, gradually re - pressurize the pipeline. Open the upstream valve slowly to allow the fluid to enter the pipeline section with the newly installed valve. Monitor the pressure and check for any leaks during the re - pressurization process.
Types of Ceramic Lined Ball Valves
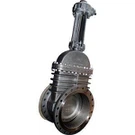
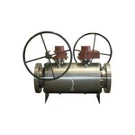
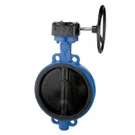
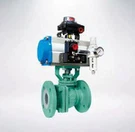
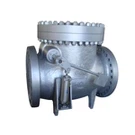
There are different types of ceramic lined ball valves available in the market. For example, the Top Entry Ball Valve offers easy access for maintenance as the internals can be removed from the top of the valve. The Floating Type Ball Valve is designed in such a way that the ball is free to float and is pressed against the downstream seat by the fluid pressure. Our Ceramic Lined Ball Valve provides excellent wear and corrosion resistance, making it suitable for various industrial applications.
Post - installation Inspection
After the pipeline is re - pressurized and the valve has been in operation for a short period, conduct a final inspection. Check the valve for any signs of vibration, unusual noise, or leakage. Monitor the pressure and flow rate in the pipeline to ensure that the valve is functioning properly. Keep a record of the installation process, including the torque values used, the type of gaskets installed, and any observations during the installation and operation.
Troubleshooting Tips
If you encounter any problems during or after the installation, here are some common issues and solutions:
- Leakage: If there is a leak around the valve flanges, check the bolt tightness. If the bolts are properly tightened, the gasket may be damaged or incorrectly installed. Replace the gasket and re - tighten the bolts.
- Difficult Operation: If the valve is difficult to open or close, there may be debris or damage inside the valve. Shut down the pipeline, remove the valve, and inspect the internals. Clean or replace any damaged parts.
- Excessive Vibration or Noise: This could be due to improper valve installation or an imbalance in the pipeline system. Check the alignment of the valve and the pipeline. If necessary, add support or dampening devices to reduce vibration.
Conclusion
Installing a ceramic lined ball valve in a pipeline is a complex but manageable process. By following the steps outlined in this blog, you can ensure a successful installation and reliable operation of the valve. As a supplier of Ceramic Lined Ball Valves, we are committed to providing high - quality products and comprehensive technical support. If you have any questions or need further assistance with valve installation or selection, please feel free to contact us for procurement and in - depth discussions.
References
- Valve Installation and Maintenance Manuals
- Pipeline Design Standards and Codes
- Industrial Safety Guidelines